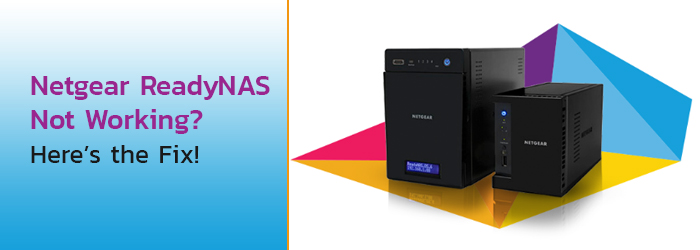
Netgear ReadyNAS is one of the best network storage devices that can hold different internal hard drives with ease. The device helps you safe and secure your data so that you don’t lose your important documents or media files if any of your internal hard drives fail. You can protect all your important data by uploading it on ReadyNAS. But, unfortunately, sometimes the device is not working as expected. The reason behind the issue can be the improper ReadyNAS setup.
To get rid of the problem, we recommend you to reset and reconfigure the device. If you don’t know the process, then check it below.
How to Reset Netgear ReadyNAS
You are suggested to first access the boot menu for fixing the issue. You can boot your system using two methods:
Normal: It is same as of common booting process. You can boot your storage device using the Power button.
Factory Default: It will reset your ReadyNAS device to factory settings. Keep in mind that employing this method can erase all your data.
If you want to access the boot menu, then here’s how to do it:
- Turn off your ReadyNAS storage system.
- Locate the Reset button on it.
- Press and release the Reset button using a paper clip.
- Now, turn the power ON.
- Again press the Reset button and let the LEDs on your device light.
- Release the button after checking the status of LEDs.
- You will be shown with the Backup button.
- Here, you can check various Boot Mode options and choose the one that best fits your needs.
- Press the Reset button to confirm your selection.
That’s it! Your ReadyNAS device boots in the selected mode.
If you have opted for default factory boot, then you need to reconfigure your device. Here’s how you can perform Netgear ReadyNAS setup.
How to set up ReadyNAS
- Place your device at the right place.
- Plug in one end of the power adapter to a power outlet and connect the other end to the back of your ReadyNAS device.
- Power up the device.
- Get access to your laptop/computer and launch a web browser.
- Enter readycloud.netgear.com in the web address bar of your web browser.
- You will see the ‘Set up a new ReadyNAS’ option.
- Hit start and then Discover.
- Your ReadyNAS device will automatically be detected on the WiFi network by Ready Cloud.
- On the next screen, hit Setup.
- Hitting the button will display the ReadyNAS login screen.
- Here, you need to enter the default credentials to move further.
Note: If you don’t know the default credentials, you can access your device’s manual. If this is not solving your problem, get in touch with our highly-experienced technicians via live chat.
- After entering the default username and password, hit Log In.
- As soon as you log in, you will be redirected to the ReadyNAS setup wizard.
- Proceed further by clicking the Next button and complete the process.
For first-time users, when you access the dashboard, you will be guided by setup wizard on how to proceed further. You will be instructed step-by-step to complete the setup and configuration process.
After completing the process, you will be asked to choose a language or your choice and tweak various other settings like Time and date, Hostname and workgroup, Alert contact, etc.
We hope that resetting and re-configuring your device might fix the ReadyNAS not working issue. If the problem still persists, contact our experts. The technician team we have on-board is on its toes to assist you resolve any issues you might be facing with your ReadyNAS device.

