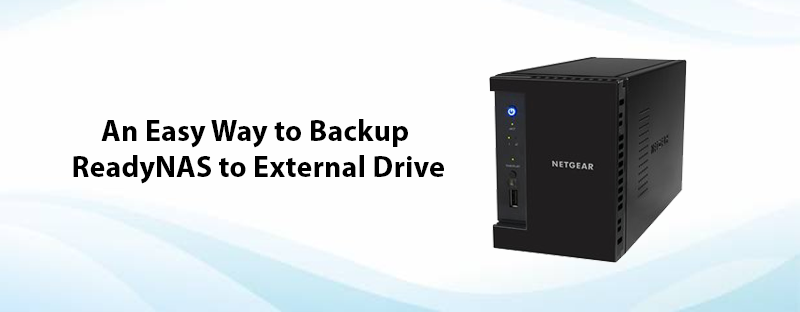
The Netgear ReadyNAS has up to four hard drive bays that offer your employees with network storage space for shared data. The time you configure the ReadyNAS in RAID (Redundant Array of Independent Disks) mode and if a drive fails, you can replace a drive and the ReadyNAS will recreate the contents of the failed hard drive. However, you should have the ReadyNAS backup, in case multiple drives fail at the same time.
Today, in this blog, we will be going to discuss the best method to backup ReadyNAS to the external drive like portable hard drives. Keep reading!
FrontView Netgear ReadyNAS Backup
- Launch the RAIDar web-based application. Then, click on ReadyNAS in the device list and choose ‘Setup’ option to access it. Type the ReadyNAS login credentials and then click on the ‘Login’ button to access the FrontView Netgear ReadyNAS backup interface.
- Choose ‘Switch to Advanced Control Mode’, appears at the bottom of the FrontView window.
- Choose the ‘Backup’ option from the menu.
Computer, Server, or ReadyNAS Share
- Choose ‘Add a New Backup Job” to back up another computer or ReadyNAS share.
- Now hit on the selection box labeled ‘Select this ReadyNAS or remote’.
- Choose the backup destination. You can choose the destination of ReadyNAS backup as either ‘Share’ or to a specific ReadyNAS share.
- Mention the path of the destination. After that, click ‘Browse’ and then navigate to a folder, if you are backing up to a USB hard drive.
- Type the computer or a server login credentials.
- Click ‘Test Connection’ and wait while the ReadyNAS connect to the host.
- Set the schedule for your backup. Choose the frequency by selecting the number of hours between backups.
- Choose the Netgear ReadyNAS backup schedule.
- You can even choose an administrator notification by an email after a backup get completes.
- Check the ‘Remove the contents of the backup’ box to remove or erase all stored files on the destination before initializing the backup process.
- Check the ‘Change ownership of the files’, if you are backing up to a ReadyNAS share and you want to share to own the backup files.
- Click on the ‘Apply’ button to save your backup configuration process.
Netgear ReadyNAS Vault
- Choose the ‘ReadyNAS Vault’ to back up the data to your cloud account at Netgear storage.
- Confirm ‘Enable ReadyNAS Vault Support’ to back up your data online to your ReadyNAS Vault account.
- Type your ReadyNAS Vault default login credentials and choose ‘Login’ to activate continuous backup of your ReadyNAS system on your ReadyNAS Vault account.

