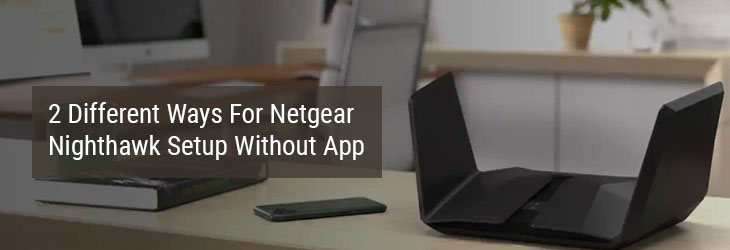
A Netgear Nighthawk extender can be easily set up and managed using the Nighhtawk app that is available for iOS and Android devices. However, if you find using the app a bit difficult then there are other ways that can help you to complete the initial setup process of your Netgear device. This very guide will walk you through the two different ways to complete the Netgear Nighthawk setup without app. Are you ready to dive in to learn more about it? Let’s begin!
How to Complete Netgear Nighthawk Setup Without App?
A Netgear WiFi range extender helps you extend the existing network range thereby widening the coverage area. To get this job done, you first need to connect it to the existing internet gateway in the home. This very process is known as setting up the extender.
You have three ways to set up your extender. But since the blog is meant to help you learn Netgear Nighthawk setup without app, we shall talk about only two ways here:
1. WPS Button Method
2. Web-Based GUI Method
Both these methods have been clearly elaborated ahead. Keep reading further to know more.
WPS Method To Configure Nighthawk Extender
Mentioned ahead are the instructions to complete the Netgear Nighthawk extender setup using the WPS button:
- Initiate the process by placing the extender closer to the host router. While setting up the extender, you need to place them closer. However, after the setup has been completed, you can move the extender to a new location where you want to extend network.
- Now, look for a button on the router that is labeled WPS.
- Upon locating it, push it gently.
- Proceed ahead, find and push the WPS button on the extender in the same manner. But you need to do this within two minutes of pressing the button on the host router.
Note: Some devices do not have a physical WPS button on them. You can log in to the web interface and use the virtual button in that case.
This completes the WPS setup of your Netgear Nighthawk wireless range extender.
Web-Based GUI Method for Nighthawk Extender Setup
- In this method also, you need to place the Netgear extender near the router.
- Disconnect power supply to the router for some time.
- Now, putting to use an Ethernet cable, join the Internet port of the extender to the LAN port on the router.
- Verify the connection made. Be sure that it is finger-tight.
- Now, switch your router on.
- Next switch on the Netgear extender.
- The devices should be receiving a consistent power supply.
- Now, connect your PC to the extender’s network either using WiFi or using a LAN cable.
- Power up the PC and run an internet browser on it.
- You will directly land on the Netgear Extender Setup page.
- If not, then insert the login URL mywifiext.net or the default IP address right into the address field of the browser.
- Hitting the Enter key will do the honors of taking you to the setup window.
- Accept Terms & Conditions.
- Log in to the web-based GUI of your Netgear extender by using the admin credentials.
- Keep executing the setup instructions that will appear on the window.
You have completed the Netgear Nighthawk setup without app. Now, shift the extender to a new location in your home where you faced WiFi dead spots.
Wrapping Things Up
Now you know how to complete the Netgear Nighthawk setup without app using either the WPS button or the web interface. Once you are done with the setup and relocated your extender, connect different devices to its network and check the signals. If you get poor signals, then bring the extender closer to the router and check the signals. Ensure choosing the best possible location that is within the network range of the router and also away from signal interference-causing agents.

